

















In Stock
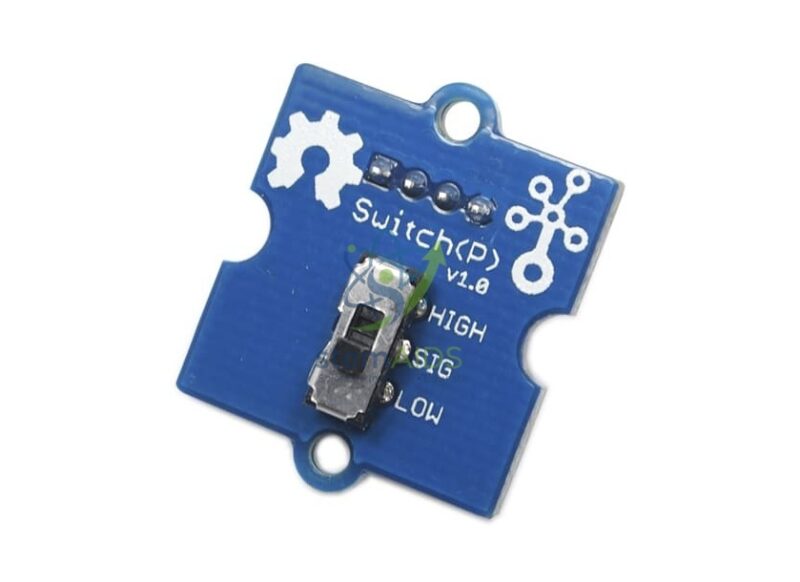
Grove 2-position switch
$2.65
Quick Answer: The Grove 2-position switch is a latching switch module on a Grove board that stays where it is set, giving a microcontroller a steady HIGH or LOW input. Students use the Grove 2-position switch to choose between two modes, enable or disable a function, or arm an alarm.
Latching Versus Momentary Input
A push button gives a signal only while it is held; release it and it springs back. The Grove 2-position switch is different: once moved, it stays in that position until someone moves it back. For the program, that means the input describes a state, such as on or off, mode A or mode B, rather than an event such as a press.
That difference changes how students write code. A switch is simply read each time round the loop and the program acts on its current position, whereas a button usually needs edge detection to catch the moment it is pressed. Comparing the two is one of the clearest ways to teach the distinction between states and events in programming.
Typical uses are a master enable for a noisy output, a selector between two display modes or an arming switch for an alarm. The switch style, slide or toggle, is not stated in the listing and is worth checking if younger pupils will operate it.
Applications
- Mode selection, such as Celsius or Fahrenheit on a display
- A master on-off enable for buzzers, fans or lights during testing
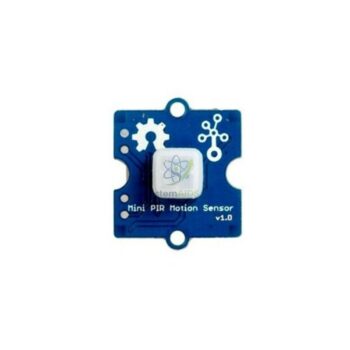
- Arming and disarming an alarm built around the Grove PIR Motion Sensor
- Teaching states versus events alongside the Grove Push Button Module
Specifications
| Module | Two-position latching switch on a Grove board |
| Output | Steady digital HIGH or LOW depending on position |
| Connection | Grove digital port |
| Input type | State (latching), not momentary |
| Switch style and supply voltage | Confirm at enquiry |
Care & Handling
- Move the lever of the Grove 2-position switch gently to its end stop; forcing it past the stop can break the switch.
- Mount the module so the switch can be reached without pulling on the Grove cable.
- Keep it dry and free of dust or glue, which make the contacts unreliable.
- Label which position means which mode on the finished project so users are not left guessing.
Why Choose LabEquip
Teachers often buy switches and buttons together so one lesson can compare latching and momentary inputs directly. LabEquip lists this switch among its STEM kits; class numbers can be sent via the LabEquip contact page.
Frequently Asked Questions
What is the difference between this switch and a push button?
The switch stays in the position it is set to, giving a continuous state. A push button springs back when released, giving a brief signal. Use a switch for modes and on-off settings and a button for actions like start or next.
How do I read the switch in code?
Set its pin as an input and read it each time round the main loop. The value is HIGH in one position and LOW in the other, and the program acts on that value directly.
Does the switch need debouncing?
Contacts can bounce briefly when the switch is moved, but because the program acts on the settled state, bounce rarely causes problems. It matters only if the code counts each change of position.
Can one switch select between more than two modes?
No, it has two positions. For more modes, combine two switches to get four combinations, which is also a neat introduction to binary numbers.
Which port should the switch use?
A digital port, because its output is simply HIGH or LOW. An analogue port would read it too, but only as values near the top or bottom of the range, which wastes an analogue input.
Why use a switch to arm an alarm?
An alarm should stay armed until someone deliberately disarms it. A latching switch holds that state without the program having to remember a button press, which makes the logic simpler and more robust.
Last Updated: September 2026
You must be logged in to post a review.
Bestsellers


Sale

Sale

Sale


Reviews
There are no reviews yet.