
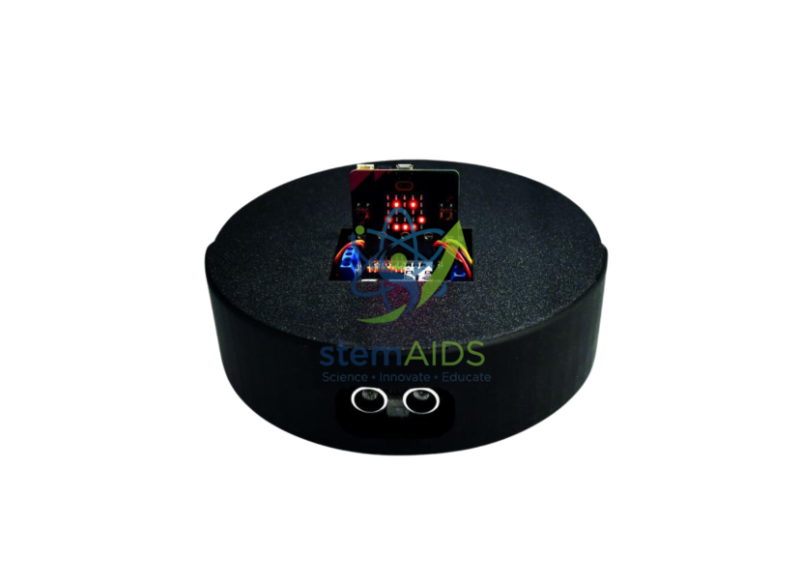
Quick Answer: The Lawnmower 3D Robotic kit with Micro Bit Board is a classroom robotic lawnmower kit: a small micro:bit-controlled vehicle that students build and program to cover an area, detect a boundary and avoid obstacles the way autonomous garden mowers do. It is a teaching model and does not cut grass.
How Robotic Mowers Decide Where to Go
Most domestic robotic mowers do not map the garden. They drive straight until they meet the boundary, turn through a random or calculated angle and set off again, and over hours the criss-crossing paths cover the whole lawn. The boundary is usually a wire laid round the edge of the grass, while bump or distance sensors deal with trees and garden toys. This kit lets students reproduce that logic on a floor or table, with a taped line standing in for the boundary wire.
A robot of this kind needs drive motors, a motor controller and sensors facing down for the boundary and forward for obstacles. Students write the behaviour as a set of states: drive forward, react to the boundary, react to an obstacle, return to driving. They can then measure how much of a marked area the robot crosses in five minutes with different turning angles, which turns programming choices into results they can compare.
The 3D in the name refers to a body designed around 3D-printed parts, a feature of this kit family, and the title states that a micro:bit board is included. Assembly involves fitting motors and sensors and may include some soldering, so the kit supports fault-finding lessons as well as coding. Whether printed parts are supplied should be confirmed.
Specifications
| Item | Robotic lawnmower model kit for coding and robotics lessons |
| Controller | micro:bit board, included per the listing title |
| Behaviours taught | Boundary detection, obstacle avoidance, area coverage |
| Body | Designed around 3D-printed parts, as the ‘3D’ name indicates |
| Programming | MakeCode blocks or Python |
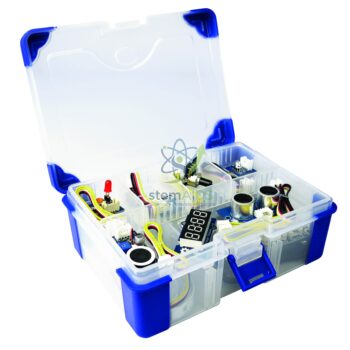
| Printed parts, motors and sensors | Confirm at enquiry |
What Students Investigate
- Random-bounce coverage: how the turning angle affects the share of an area covered
- Boundary detection with a taped line standing in for a perimeter wire
- Obstacle detection and stopping at a safe distance
- How real robotic mowers are made safe around people and pets
Care & Handling
- Run the robot on a clean, flat floor or a table with a raised edge, never on real grass, soil or wet ground.
- After assembly, check that the wheels turn freely and that no wire can catch in them.
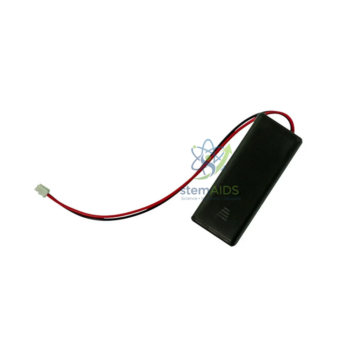
- Remove the batteries after each session so the robot cannot start inside its storage box.
- Handle 3D-printed parts gently; thin printed sections crack if forced during assembly.
Why Choose LabEquip
Technology teachers pick the lawnmower kit because it links coding to a machine students have seen in gardens or on television. LabEquip lists it in the STEM kits range alongside the Bit car, a simpler micro:bit vehicle for first robotics lessons. Send class numbers through the contact page.
Frequently Asked Questions
Does the robotic lawnmower kit actually cut grass?
No. It is an educational model of a robotic mower, built to teach its navigation and control logic. It has no cutting blade and is not meant for outdoor use on grass.
How does the robot know where the edge of the lawn is?
Real mowers detect a boundary wire. In class a line on the floor usually plays that role, and a downward-facing sensor detects it so the program can turn the robot back.
Why do robotic mowers turn at random angles?
Random turns are a simple way to cover an irregular area without a map, as the paths gradually criss-cross the whole lawn. Students can test this by marking a grid and counting the squares the robot crosses.
Is a micro:bit included with this kit?
The listing title states that the kit comes with a micro:bit board, so no separate controller should be needed. Batteries and any printed parts are worth checking when ordering.
Do students need to solder?
Kits in this family can involve soldering some connections, which should be done only by trained students under supervision. If your class cannot solder, ask whether pre-assembled parts are available.
What makes a coverage test fair?
Use the same start position, run time and battery charge for every trial, and change only one thing, such as the turning angle. Repeat each setting three times and take an average.
Last Updated: September 2026




Reviews
There are no reviews yet.