
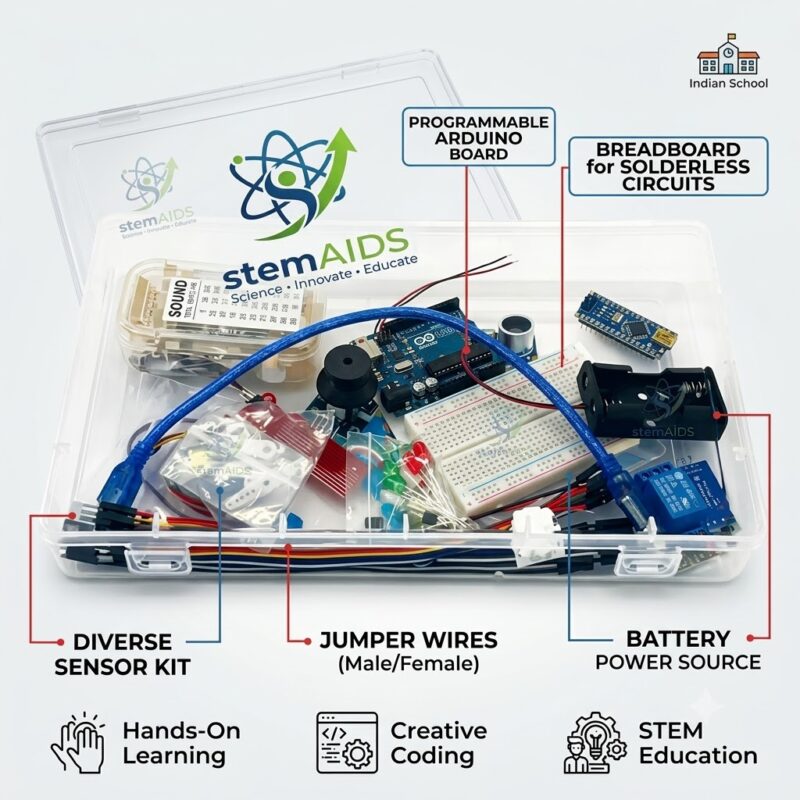
Quick Answer: The Arduino Learning Kit is a microcontroller starter set for schools, built around a programmable Arduino-type board that students connect to LEDs, sensors and other parts on a solderless breadboard. They write short programs on a computer, upload them to the board and watch the code switch lights, read sensors and control outputs.
From First Blink to Sensor Projects
The listing image of this Arduino learning kit shows a programmable board, a solderless breadboard, jumper wires, an assortment of sensor modules and a battery power source packed in a clear case. The breadboard is what makes the kit classroom-friendly: components push into rows of connected holes, so circuits can be built, changed and taken apart without soldering.
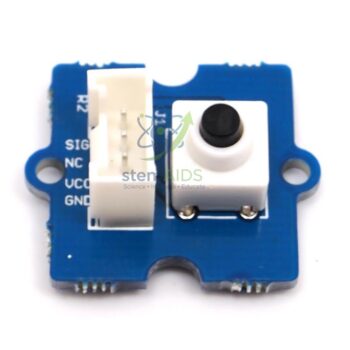
Programs, called sketches, are written in the free Arduino IDE in a simplified form of C++, and every sketch has two parts: setup, which runs once, and loop, which repeats for as long as the board is powered. The traditional first task is blinking an LED, which teaches digital output and timing. From there students read a push button, measure light with a light-dependent resistor through an analog input, and use pulse-width modulation to dim an LED or set a servo angle.
Because the same boards appear in hobby projects, university labs and industrial prototypes, skills learned with the kit carry forward. Schools should confirm the exact board model, the sensors included and whether a USB cable is supplied, and plan for one computer per group with the IDE installed.
Specifications
| Item | Microcontroller learning kit |
| Controller | Programmable Arduino-type board |
| Prototyping | Solderless breadboard and male and female jumper wires |
| Inputs | Assorted sensor modules, as shown in the listing image |
| Programming | Arduino IDE on a computer, sketches uploaded over USB |
| Board model and parts list | Confirm at enquiry |
Applications
- Introducing text-based programming with immediate physical results
- Building traffic-light, night-light and alarm projects in STEM classes
- Logging sensor readings for science investigations
- Equipping tinkering labs, robotics clubs and science fair teams
Care & Handling
- Disconnect power before changing wiring, so a misplaced wire cannot short the board.
- Hold the board by its edges and keep it on a non-conductive surface; loose metal parts underneath can short the pins.
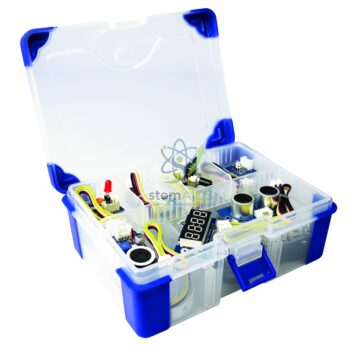
- Store sensors and components in labelled compartments so small parts are not lost between lessons.
- Unplug jumper wires by the plastic housing, not the wire, to avoid breaking them.
Why Choose LabEquip
Computer science teachers, tinkering lab coordinators and robotics club mentors usually order this kit in sets of one per group, often with spare components. LabEquip lists it in the STEM kits range, and it follows on well from the Series and Parallel Circuit Kit, which gives students the circuit basics first. Send group numbers through the contact page.
Frequently Asked Questions
Do students need programming experience to start?
No. The first sketches are short and are usually built up from the examples included in the Arduino IDE. Students learn variables, loops and conditions by changing working code and seeing what happens to the circuit.
What software is needed?
The Arduino IDE, a free program for Windows, macOS and Linux, or its online editor. Block-based editors that generate Arduino code are also available for younger learners who are not ready for typed code.
What is a breadboard for?
A breadboard holds components and wires in rows of connected sockets, so circuits can be assembled without soldering. It lets students correct mistakes quickly and reuse the same parts for many projects.
Can the board be damaged by wrong wiring?
Yes. A short between the power pins, or too much current drawn from an output pin, can damage it. Using a resistor with every LED, checking the circuit before powering it and disconnecting power while rewiring prevents most problems.
What is the difference between digital and analog pins?
Digital pins read or set two states, on or off. Analog input pins measure a voltage and report it as a number, usually from 0 to 1023, which lets the board read sensors such as light-dependent resistors or potentiometers.
What projects can a class build first?
Common first projects are a blinking LED, a traffic-light sequence, a push-button counter, a night light that switches on in the dark and a temperature display. Each adds one new idea, so the class moves from outputs to inputs to decisions in code.
Last Updated: September 2026




Reviews
There are no reviews yet.