
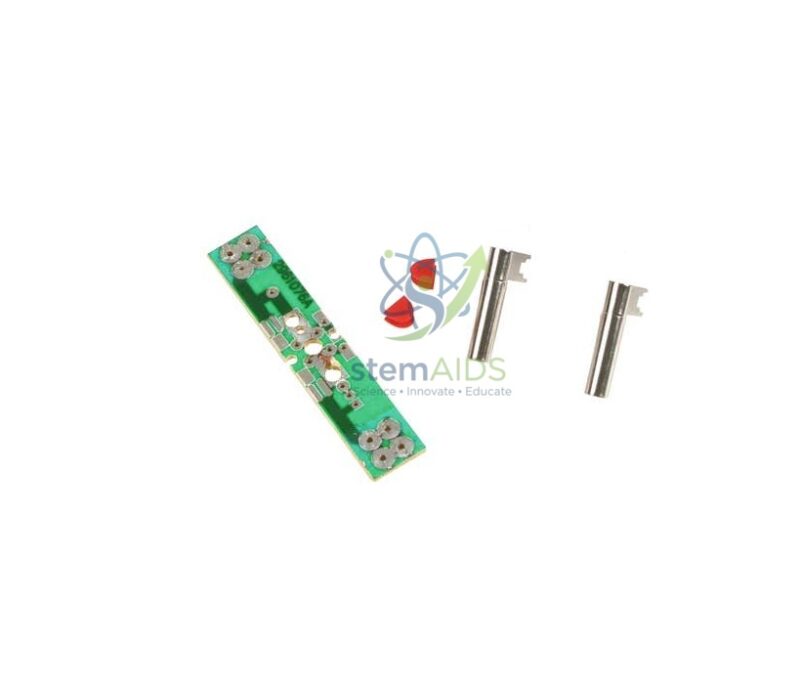
Quick Answer: This DIY kit is an empty housing for building your own circuit module: a student or teacher fits a component of their choice inside, wires it to the terminals and labels it, so it can join the other modules on the bench. As a DIY circuit module kit it supports design-and-make projects and lets a school extend its module set with components it already has.
A Blank Module to Complete
Classroom circuit modules each hold a single component, such as a lamp, a resistor, a switch or a diode, in a matching housing with terminals and a circuit symbol on top. A school’s set never covers every component a teacher wants to show. This kit provides the housing without the component, so a new module can be made for a sensor, an unusual resistor value, a relay or anything else that fits inside, and it then looks and connects like the rest of the set.
Exactly what the kit contains, such as the housing, lid, terminals and fixings, and the size of component it will take, should be confirmed before ordering. The component itself and any soldering tools are the user’s own choice.
Making a Module as a Project
Building a module is a compact design-and-make task. Students choose a component, check its rating against the supplies the class uses, plan how its leads will reach the terminals, solder or screw the connections and test the finished module with a meter before it joins the set. Drawing the correct circuit symbol on the lid, with polarity marks where needed, reinforces symbol knowledge in a way a worksheet cannot. A finished module holding a ceramic capacitor or a rectifier diode, for example, becomes a permanent teaching piece.
Applications
- Making extra modules for components missing from the class set
- Design-and-make projects in electronics clubs and technology lessons
- Housing a sensor, such as a thermistor or LDR, for repeated class use
- Replacing a damaged module by rebuilding it in a new housing
Specifications
| Type | DIY housing for a circuit module |
| Purpose | Fitting a component of the user’s choice |
| Use | Extending classroom module sets; design-and-make projects |
| Assembly | Component wired to the module terminals by the user |
| Kit contents and component size accepted | Confirm at enquiry |
Care & Handling
- Check the rating of any component fitted in the DIY circuit module kit against the supplies used in class, and mark it on the lid.
- Supervise soldering, with eye protection and good ventilation, and let joints cool before closing the housing.
- Test the finished module with a meter for short circuits before connecting it to a supply.
- Keep spare housings and fixings together so kits stay complete.
Why Choose LabEquip
Teachers and electronics clubs buy DIY module kits to grow their circuit sets without waiting for ready-made modules. LabEquip carries them with the rest of its physics lab equipment; tell us through the contact page which module system your school uses so the kit can be matched to it.
Frequently Asked Questions
What is the DIY kit used for?
It is used to make a new circuit module. A component of your choice is fitted inside the empty housing and wired to its terminals, so it can be connected into class circuits in the same way as ready-made modules.
Which components can be fitted?
Any component that fits inside the housing and suits the low voltages of student circuits, such as resistors, capacitors, diodes, LEDs with their resistor, small sensors and switches. The space available inside this housing should be confirmed at enquiry.
Do I need to solder?
Usually, since component leads are most reliably joined to the terminals by soldering. Some components can be held under screw terminals instead. Either way, test the finished module with a meter before use.
How should the finished module be labelled?
Draw or stick the correct circuit symbol on the lid, add polarity marks for diodes, LEDs and electrolytic capacitors, and write the value or rating. Clear labels let any student use the module correctly without opening it.
Is building a module a good student project?
Yes. It combines choosing a component, checking its rating, planning connections, soldering and testing, and the result is a working piece of equipment the class will use. It suits electronics clubs and senior students in particular.
Can the kit be used to repair a broken module?
Yes. If a module’s housing is damaged but the component is sound, or the component has failed, the parts can be rebuilt in a new housing, which keeps a class set complete.
Last Updated: October 2026






Reviews
There are no reviews yet.